
Step By Step Guide To Paint Wooden Furniture Like A Pro
Are you looking to give your old wooden furniture new life with a fresh coat of wood finish paint? Painting wooden furniture is not as hard as it may seem. With the right tools, a little patience, and some practice, anyone can create beautifully painted furniture pieces. This step-by-step guide will teach you how to paint wooden furniture like a pro. From sanding and prepping the wood to creating a stunning finish, you’ll learn all the tips and tricks that will help you achieve an amazing result. So grab your supplies and get ready to start transforming your furniture!
The Different Types of Paint
Different types of paint can have different effects on your wooden furniture. You may want to use a different type of paint depending on the look you are going for. Here are some of the most common types of paint:
- Latex paint is a water-based paint that is commonly used for painting walls and ceilings. It is easy to clean up and provides good coverage.
- Oil-based paint is a good choice for painting wood because it penetrates the surface and provides a durable finish. However, it can be difficult to clean up and has a strong odour.
- Chalkboard paint can be fun to use on furniture, especially if you have kids. It can easily be wiped off and replaced with new designs.
- Metallic paint can add a bit of glamour to your furniture. It is available in many different colours and can be applied with a brush or sprayer.
What You Will Need
You will need the following:
- Wooden paint
- Paintbrush
- Palm sander/sandpaper
- Scraper
- Primer
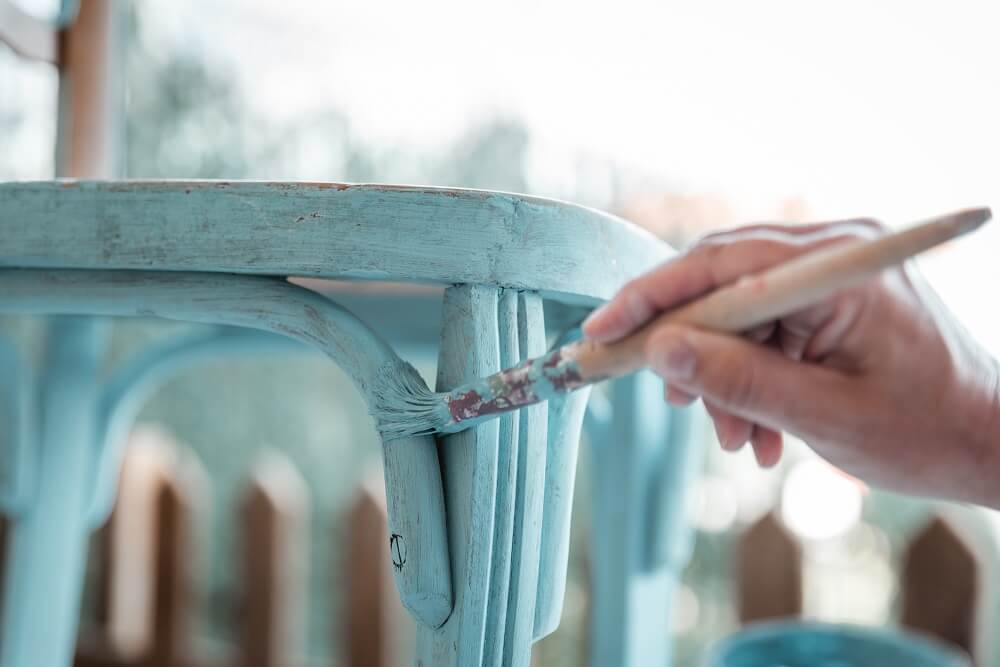
How to Prepare the Furniture

Before you start painting your furniture, you need to prep the piece properly. This includes sanding down the surface to create a smooth base for the paint to adhere to, as well as removing any old paint or varnish that might be on the piece. Once your furniture is prepped and ready to go, you can start painting.
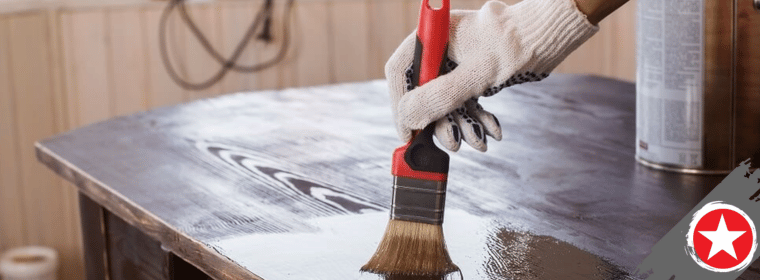
How to Paint the Furniture
When it comes to painting furniture, there are a few things you need to keep in mind to get a professional-looking finish. Here is a step-by-step guide on how to paint furniture like a pro:
- Start by sanding down the piece of furniture you want to paint. As mentioned earlier, this will help create a smooth surface for the paint to adhere to.
- Next, apply primer to the furniture. This will help the paint colour show up better and also prevent it from chipping or peeling over time.
- Once the primer is dry, it’s time to start painting. Begin with a light coat of wooden paint and then build up to darker colours if desired. Make sure to use even strokes and don’t forget to paint the underside and any crevices of the furniture piece.
- Finally, once the paint is completely dry, apply a sealer over top. This will protect your newly painted furniture from scratches or wear and tear. You can use sleek wood polish coatings from Star Paint to protect your furniture and add to the look.
How to Seal the Furniture Properly

Sealing your finish is essential to protecting your wood finish paint job and ensuring its longevity. There are a few different types of sealers you can use. The best one for your project will depend on the type of paint you use, the surface you’re working with, and the look you’re going for. Here’s a rundown of the most popular sealers and when to use them:
Polyurethane is a clear sealer that comes in glossy or satin finishes. It’s durable and resistant to scratches, stains, and fading, making it a good option for high-traffic pieces or outdoor furniture. Water-based polyurethane goes on clear and dries quickly, while oil-based polyurethane has a yellowish tint when wet but dries clear. Oil-based polyurethane takes longer to dry but provides a more durable finish.


