

How to Prepare Your Home for Professional Exterior Painting
The information below is sourced from https://pizzazzpainting.com/

Types of Textured Paint
Textured paint is a popular choice for homeowners looking to add a distinctive look or hide imperfections on their walls. Textured finishes can be an aesthetically pleasing solution if you want to create texture on an accent wall or add personality to a room.
Here are several types of textured paint and finishes available to create wall texture in your home:
Smooth Textured Paint
Smooth textured paint may sound like a contradiction, but in the context of paint finishes, it typically refers to paint with a subtle texture that is not rough or gritty but still offers a tactile quality. It’s not as pronounced as sand, popcorn, or orange peel textures, but it’s not flat either.
Sand Texture Paint
Sand Texture Paint contains silica sand particles, which, when applied, give walls a gritty, rough texture and a rustic look. Before application, the paint should be well-mixed. It can be applied using a thick nap roller or brush, ensuring consistent coverage. Once applied, it should be left to dry based on the manufacturer’s instructions.
Venetian Plaster
Venetian Plaster offers a polished, multi-layered plaster appearance, resulting in a deep, smooth, marble-like texture on walls. To apply Venetian plaster, start with a smooth, clean wall. A stainless steel trowel is used to apply a thin layer, using short strokes, building up layers as necessary to achieve the desired effect.

Popcorn Texture
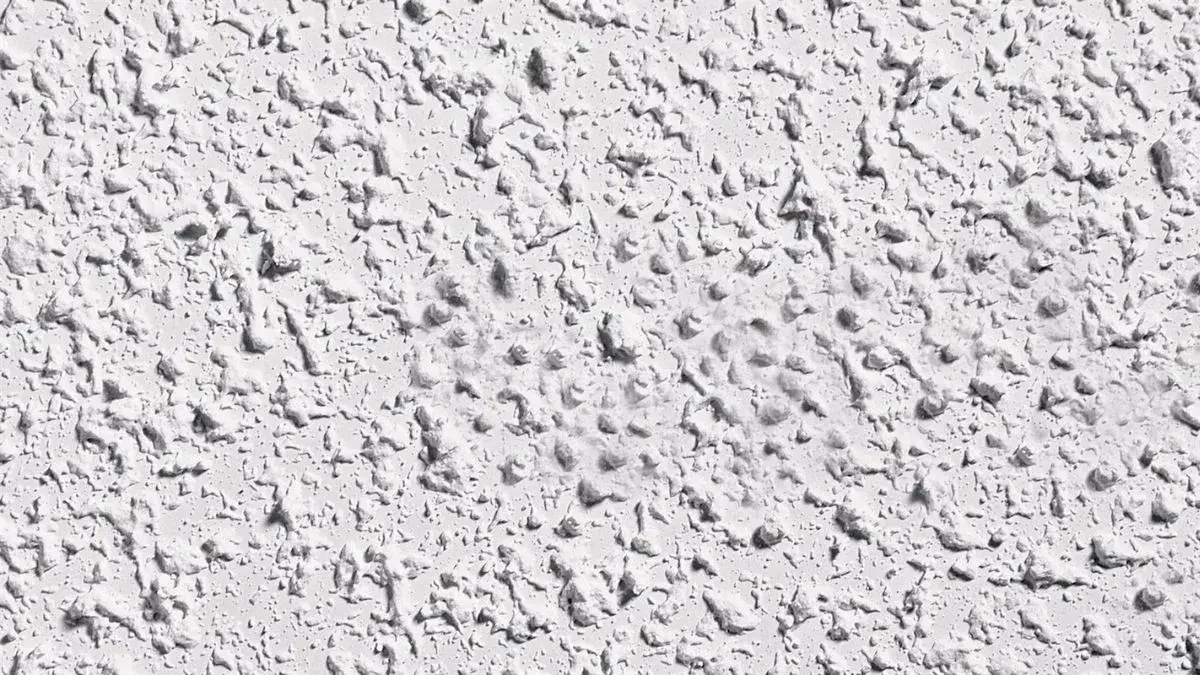
Popcorn Texture is a thick texture commonly used for ceilings, giving a bumpy, stippled appearance. A specific popcorn texture spray gun is generally required to achieve this texture. The mix is sprayed onto the surface, and once it’s dry, it leaves behind its characteristic “popcorn” texture.
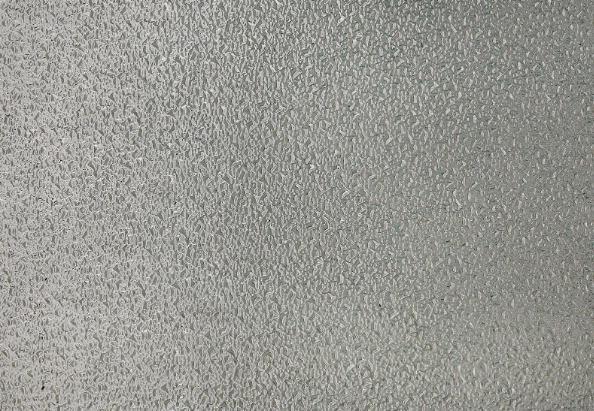
Knockdown Texture

Knockdown Texture is sprayed onto the wall or ceiling, and before it dries, it’s smoothed down or “knocked down” with a trowel, creating a unique texture with peaks and valleys. The result is a more subtle texture than popcorn but with more depth than orange peel.
Orange Peel Texture
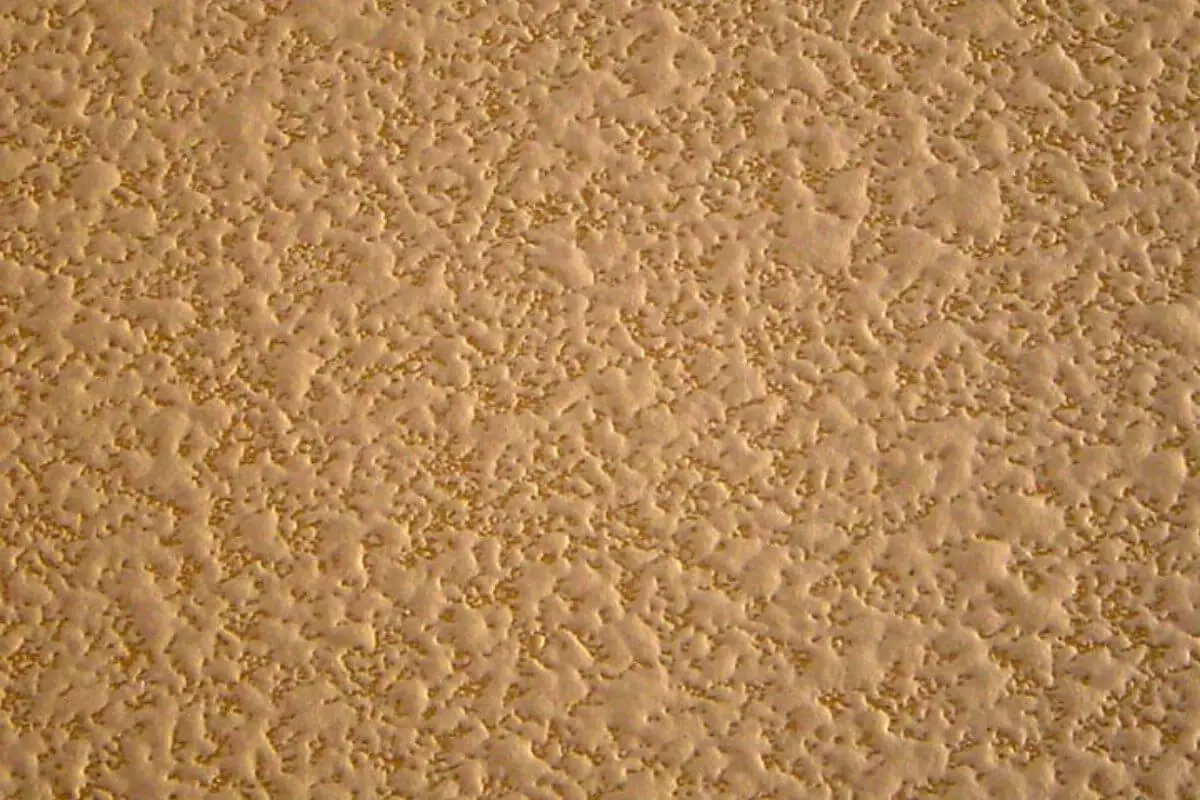
Orange Peel Texture resembles the skin of an orange, with a slightly bumpy and textured surface. It’s achieved by spraying a mix of drywall compound and water onto the wall using a texture sprayer, hopper gun, and air compressor. Once applied, it needs to dry completely before painting.
Brushed-On Texture
Brushed-on texture is achieved using a brush to create various patterns on the wall like stippled, brushed, or swirled designs. Many unique finishes can be achieved depending on the technique and type of brush used.
Roll-On Texture

Roll-on Textures are thick paints applied with a roller. Depending on the specific product and the type of roller used, various patterns can be created, from subtle to bold.
Fabric and Fiber Textures

Fabric & Fiber Textures contain fibers that give the appearance of fabric or rough canvas when applied to walls. They are generally applied with a brush or roller and, when dried, present a dimensional textured finish.
Stone or Granite Finish

Stone or Granite Finish paints contain small particles that, when dry, resemble the appearance of stone or granite. These are typically applied with a roller or brush; some might require a sealant for added durability.
Stipple Finish

Stipple Finish is achieved by applying paint or drywall compound and then using a stippling brush or sponge to create a dotted texture on the surface. The technique involves repeatedly dabbing the brush onto the wet surface until the desired effect is achieved.
Combed Texture

Combed texture is created using combs, brushes, or special tools to make patterns in wet paint. This technique results in a series of grooves or lines on the wall, creating a rhythmic pattern.
Suede Finish

Suede Finish provides a soft, matte look resembling suede fabric. Typically, this finish requires a specialized paint and application method, which may involve using a roller for the base coat and a brush for the topcoat, mimicking the soft, multi-tonal appearance of suede.
How To Choose The Right Textured Paint For Your Home
Now that we have a picture of the different types of textured paints available, we must decide which is best for your home.
Choosing the right textured paint involves considering both aesthetic and practical aspects. You’ll want to consider many factors, such as the purpose of the room you are painting and your budgetary constraints.
Consider the following things when choosing the right textured paint for your home.
Purpose of the Texture
Aesthetic Appeal: If you’re looking to enhance the ambiance of a room or create a focal point, consider which texture would align with your overall interior design.
Hide Imperfections: Rough textures, like sand or popcorn, can be particularly effective at masking existing imperfections in your wall surface.
Room Usage
High-Traffic Areas: For areas with a lot of traffic or potential wear-and-tear, like hallways, kitchens, or children’s rooms, select a texture that’s durable and easy to clean.
Humidity and Moisture: In spaces like bathrooms, where humidity is higher, consider using paints that resist mold and mildew.
Type of Texture
Different textures add different dimensions and visual interest to a room:
- Sand and Stone Textures: Provide a rough finish and are great for rustic or coastal designs.
- Venetian Plaster: Offers a polished, luxe feel suitable for formal rooms or spaces where you want a touch of elegance.
- Popcorn Texture: Mostly used for ceilings, it has a bumpy finish.
- Suede and Fabric Textures: Add warmth and can be suitable for bedrooms or cozy spaces.
Application Method
Consider your skill level and the tools you have at hand. Some textures require special tools for application. Some textures are roll-on, while others might require a trowel, brush, or sprayer. Choose one that you’re comfortable applying or are willing to learn to apply.

Maintenance and Durability
Textured walls can be more challenging to clean than smooth ones. If ease of maintenance is a priority, opt for a texture that has a smoother finish or one that can be easily wiped down.
Consider the durability of the texture, especially if you have pets or young children.
Lighting in the Room
Light can dramatically impact the appearance of texture. Deep textures can create shadows, making a room feel smaller or cozier. A lot of natural light can highlight the texture’s depth and details, while dimly lit rooms may not showcase the surface as prominently.

Paint Color
The color of the paint can also impact the perception of texture. Light colors highlight the surface, while dark colors may downplay it. Consider getting samples and testing them in small patches to see how the color and texture work together in your space.
Budget
Some textured paints, especially specialty finishes like Venetian plaster, can be pricier than others. Consider your budget when making a choice.
Environmental and Health Concerns
Consider paints with low or zero VOCs (volatile organic compounds) if you’re concerned about indoor air quality. These are better for the environment and can be less irritating for some people.
Consultation
It’s always a good idea to consult with professional painters, especially if unsure. They can provide insights tailored to your specific interior space and painting needs.
When you’ve considered these factors, selecting the textured paint that aligns with your aesthetic preferences, functional needs, and the character of the room becomes easier. Remember always to test a small area first to ensure you’re satisfied with the result before committing to an entire wall or room.
Preparing Your Walls For Textured Paints
Now, it’s time to prepare your walls for textured paint!
Properly preparing the wall surface is crucial to achieving the desired texture and ensuring its durability. Here’s a step-by-step guide to preparing your walls for textured paint:
Clear the Area
- Remove furniture or move it to the center of the room.
- Lay down drop cloths to protect your floors and furniture from dust and paint splatters.
Remove Old Wall Coverings
- If the wall has wallpaper, remove it using a wallpaper steamer or a wallpaper removal solution.

Clean the Walls
- Dust the walls with a broom or dry cloth to remove loose debris.
- Wash the walls with a mixture of mild dish soap and water. This step is crucial to remove dirt, grease, and other contaminants that can interfere with paint adhesion.
- Rinse with clean water and allow the walls to dry completely.
Repair Damages
- Fill any holes or cracks with spackling paste or wall joint compound. Using a putty knife, apply the filler and scrape off the excess for a smooth finish.
- You might need a piece of drywall and joint tape for larger damages or dents. Consult with a home repair guide or professional if you need more clarification.
- Allow the filler to dry according to the product’s instructions.
Sand the Walls
- Once your filler has dried, sand the repaired areas using fine-grit sandpaper (around 120-150 grit is usually good). This ensures a seamless texture application.
- If you want a smoother finish, consider lightly sanding the entire wall to even out rough patches.
Dust and Clean Again
- After sanding, the wall will have a lot of dust. Vacuum the walls with a brush attachment, then wipe them down with a damp cloth to ensure they’re dust-free.
Prime the Walls
- Using a good quality primer, apply a coat to the entire wall. A primer ensures better paint adhesion and can help bring out the true color of your textured paint.
- Tinted primers can be beneficial if your textured paint is dark, as it can reduce the number of coats needed.
- Allow the primer to dry completely based on the manufacturer’s recommendations.

Tape Off Areas
- Using painter’s tape, mask off any trim, baseboards, outlets, switches, or other areas you don’t want to be textured. Remember to tape joints or other places you want to protect from textured paint.
Review and Final Touches
- Take a moment to inspect the wall again for any missed damages or spots that need more sanding.
- Make sure the room is adequately ventilated, especially if using paints with strong odors.
Now, your wall is ready for textured paint application! Remember, achieving a great textured finish is not just about the application but also the preparation. Properly prepped walls will make the texture look better and last longer.
The information above is sourced from https://pizzazzpainting.com/


